Skip to content

How it Installation?

Step 1 :

Turn off the vehicle and secure it with the jack stand.Remove the right front wheel and right front wheel arch support.

Step 2:

Loosen the clamps connecting the downpipe and the front exhaust pipe. Keep the clamps for later installation. Remove the bolts securing the downpipe to the exhaust manifold.

01_1.png__PID:d024d9cf-34b6-4c76-80a5-440487afff71

Step 3:

Remove the bolts at the rear of the front exhaust pipe behind the torsion bar beam and remove the front exhaust pipe from the vehicle.

1_s.png__PID:5c76c0a5-4404-47af-bf71-60f2ec8cb66e

Step 4:

Loosen the two nuts securing the transmission dipstick to the engine block, remove the dipstick tube from the transmission and remove it from the vehicle.

Step 5:

Remove the three bolts on top of the turbocharger heat shield and rotate them backward. This will allow access to the clamp at the top of the downpipe. If the clamp rotates downward, you may need to remove the bolts on the turbocharger driver's side computer module to access the upper clamp. Keep the fasteners for later installation.

2_s.png__PID:87afff71-60f2-4c8c-b66e-664bf0db312c

Step 6:

Loosen the clamp on the top of the downpipe. After removing the clamp, gently push the downpipe out of the turbocharger exhaust housing. Remove the original downpipe from the bottom of the vehicle or the passenger side wheel arch.

Step 7:

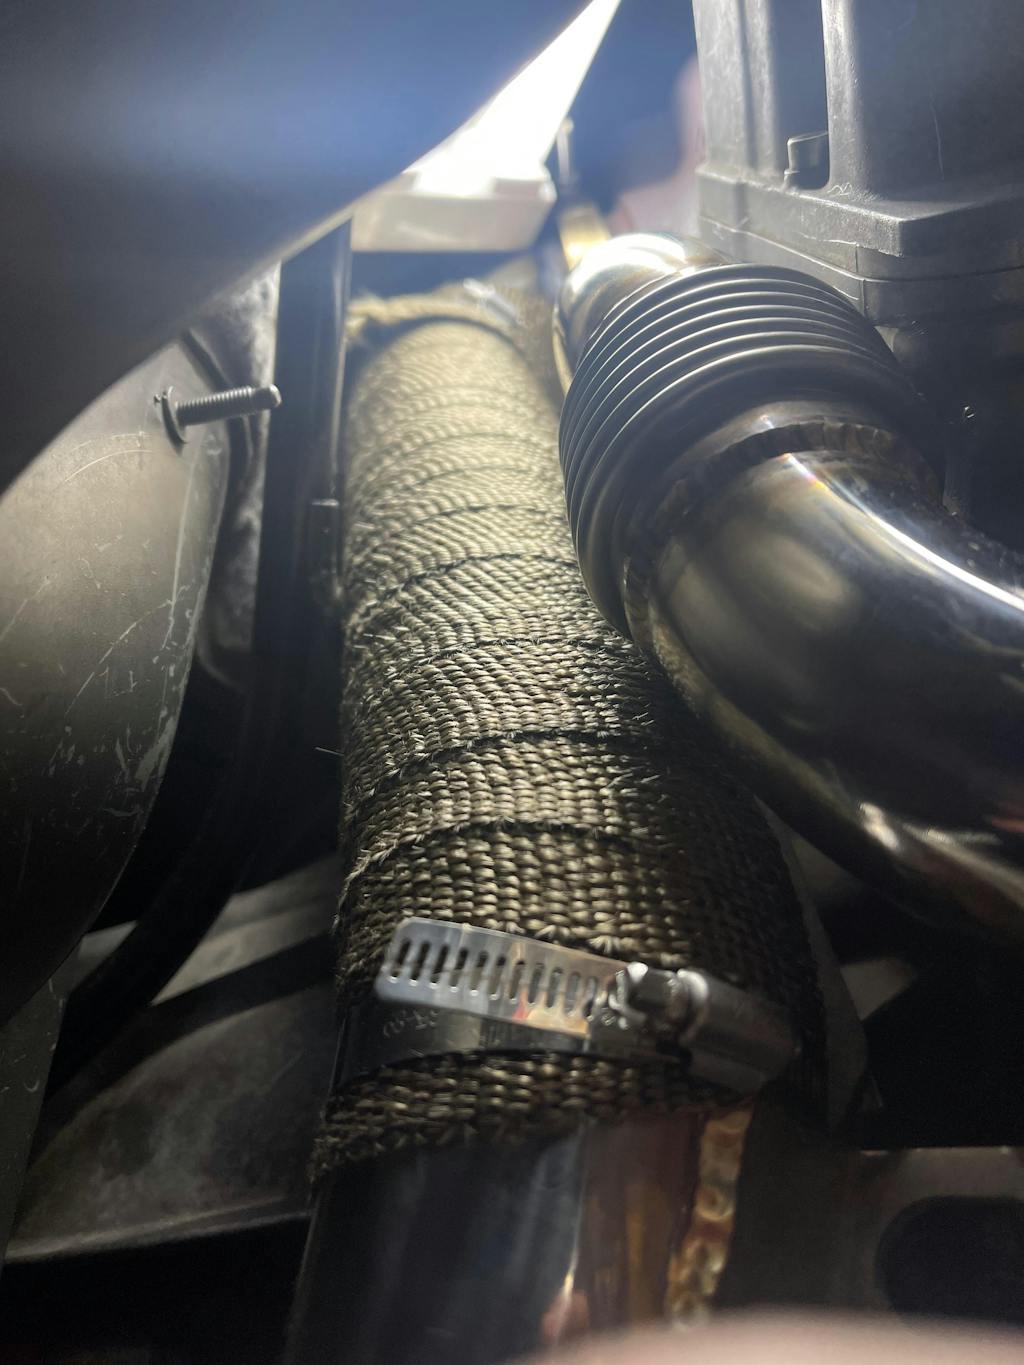
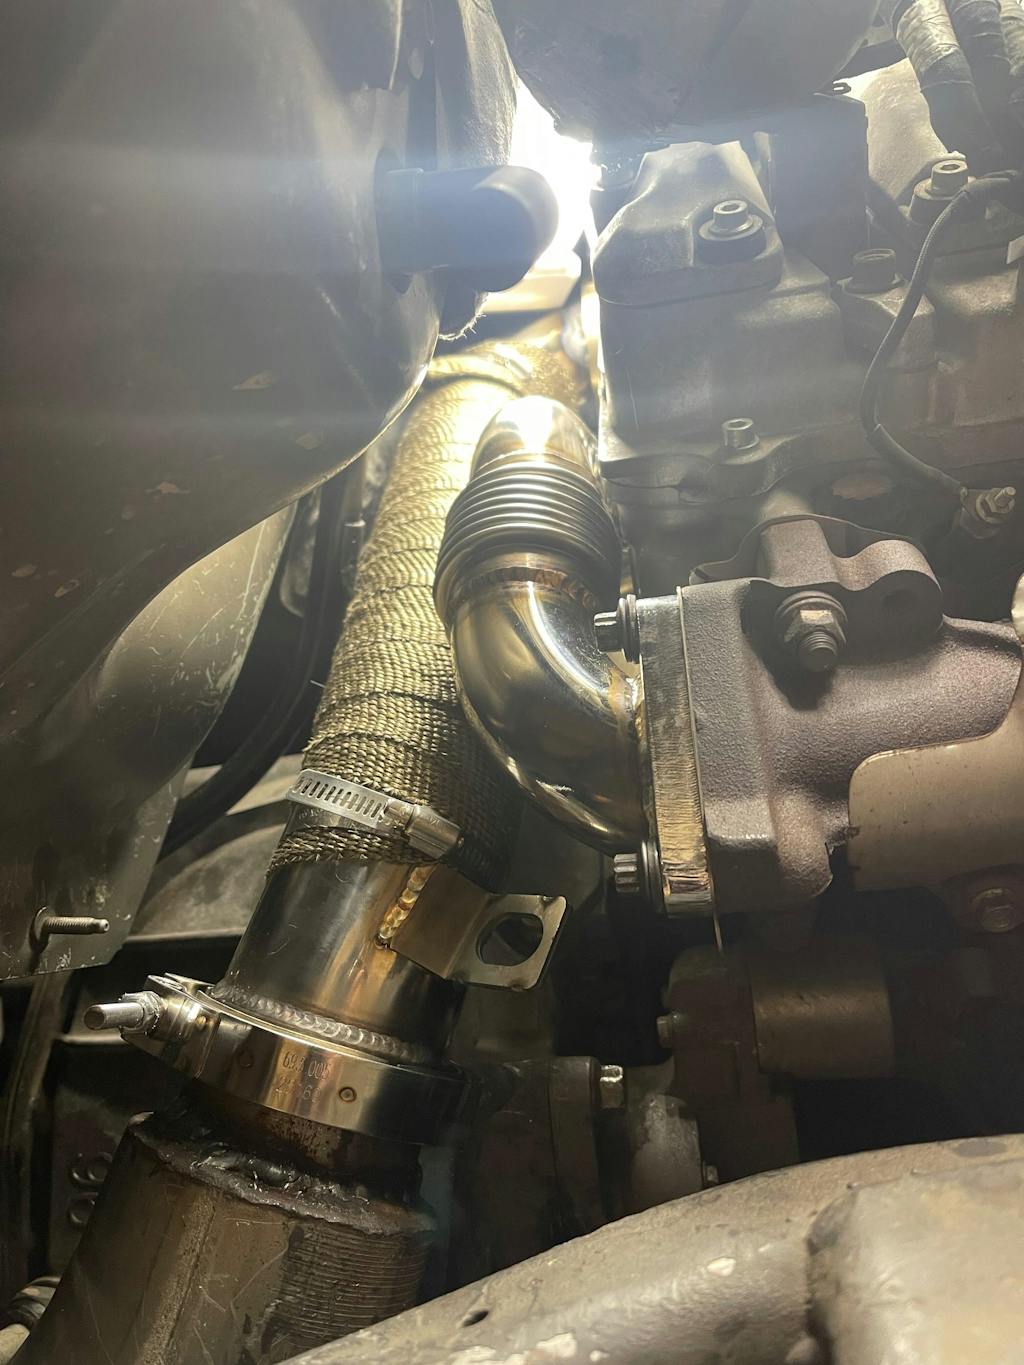
Insert the new downpipe from the bottom of the vehicle or the passenger side wheel arch, fully inserting it into the turbocharger exhaust housing until it is flush with the flanges on the turbocharger and downpipe.

5_s.png__PID:312c5e63-a9c6-4c70-96da-66d17d99de7a

Step 8:

Loosely secure the clamp at the upper connection between the turbocharger and the downpipe to prevent the downpipe from falling off, but allow it to rotate slightly.

6_s.png__PID:4c7096da-66d1-4d99-9e7a-56b8ecb2c59e

Step 9:

Reinstall the transmission dipstick into the transmission and tighten the two nuts to the rear of the transmission housing.
Secure the downpipe to the bracket on the exhaust manifold using the original bolts. Reinstall the front exhaust pipe onto the rear exhaust pipe.

Step 10:

Reinstall the clamp securing the front exhaust pipe to the downpipe.Tighten the upper clamp securing the downpipe to the turbocharger housing.

Step 11:

Replace the upper heat shield and secure it with the original bolts. If necessary, reinstall the electronic module.Then start the vehicle and check to ensure there are no exhaust leaks.Finally, reinstall the right inner fender and wheel.

TruckTok 2004.5-2010 LLY LBZ LMM 6.6L Duramax Diesel 3
0%, only 946 left
TruckTok 2004.5-2010 LLY LBZ LMM 6.6L Duramax Diesel 3

TruckTok 2004.5-2010 LLY LBZ LMM 6.6L Duramax Diesel 3" Downpipe Exhaust

$134.99

FITMENT

  • 2004.5-2010 6.6L Silverado & Sierra Duramax 2500HD / 3500HD Diesel engine.
  • Compatible Engine Codes: LLY (2004.5-2005) / LBZ (2006-2007) / LMM (2007.5-2010).
  • Designed for use with OEM stock turbochargers or factory-style drop-in upgraded turbos.

DESCRIPTION

Product Overview

  • Aging 2004.5-2010 Duramax LLY/LBZ/LMM trucks suffer from a severe factory bottleneck—the notorious "crushed-oval" downpipe. This flattened design acts like a brick wall, trapping intense backpressure right behind the turbo, spiking EGTs under load, and choking potential horsepower.
  • Upgrading to a smooth, mandrel-bent 3" round downpipe is a game-changer. It eliminates the stock restriction, unlocking instant throttle response, faster turbo spool-up, and cooler operational temperatures while giving your V8 that deep, aggressive rumble it deserves.

Key Features

  • Heavy-Duty Construction: Engineered from high-grade T304 stainless steel to resist rust and withstand intense thermal cycling under heavy towing loads.
  • Precision Engineered: Mandrel-bent 3" inlet and 3" outlet match stock connection points flawlessly for a leak-free seal.
  • Clean Bung-less Design: No unnecessary sensor ports to plug, perfectly matching the original factory setup for these model years.
  • Rigid Design: Replaces the flexible factory section entirely, utilizing the turbo's V-band clamp to accommodate normal engine movement without stress.

FAQ

Q: Why should I replace my factory downpipe?

A: The factory unit is a known failure point; its bellows-style flex section regularly cracks, causing exhaust leaks. Furthermore, it uses restrictive crush-bending that shrinks the internal diameter at the turns. Our mandrel-bent pipe maintains a true, unrestrictive 3" bore through every bend.

Q: Will this work with my stock DPF exhaust?

A: Yes. The 3" outlet matches the factory connection point perfectly. You can install this downpipe as a standalone reliability upgrade without changing any other part of your emissions or exhaust system.

Q: Does this downpipe increase horsepower?

A: On its own, expect a modest gain of 5-10 horsepower. However, when paired with a delete pipe and a custom tune, its efficiency multiplies. The primary benefits are eliminating the factory leak point and significantly improving turbo spool response.

Q: Does it have sensor bungs?

A: No, The factory 04.5-10 Duramax LLY, LBZ, and LMM engines do not have sensors on the stock downpipe; they are located on the exhaust manifold and downstream components. Our clean, bungless design ensures a true plug-and-play factory replacement.

Quantity