
How it Installation?
Installation instructions

Step 1 :
Unlock the charge pipe by using a large flathead screwdriver to turn the locking ring counter clockwise. Place the tip of the flathead screwdriver into the groove on top of the locking ring, and push it toward the passenger side while pulling forward on the charge pipe by hand.
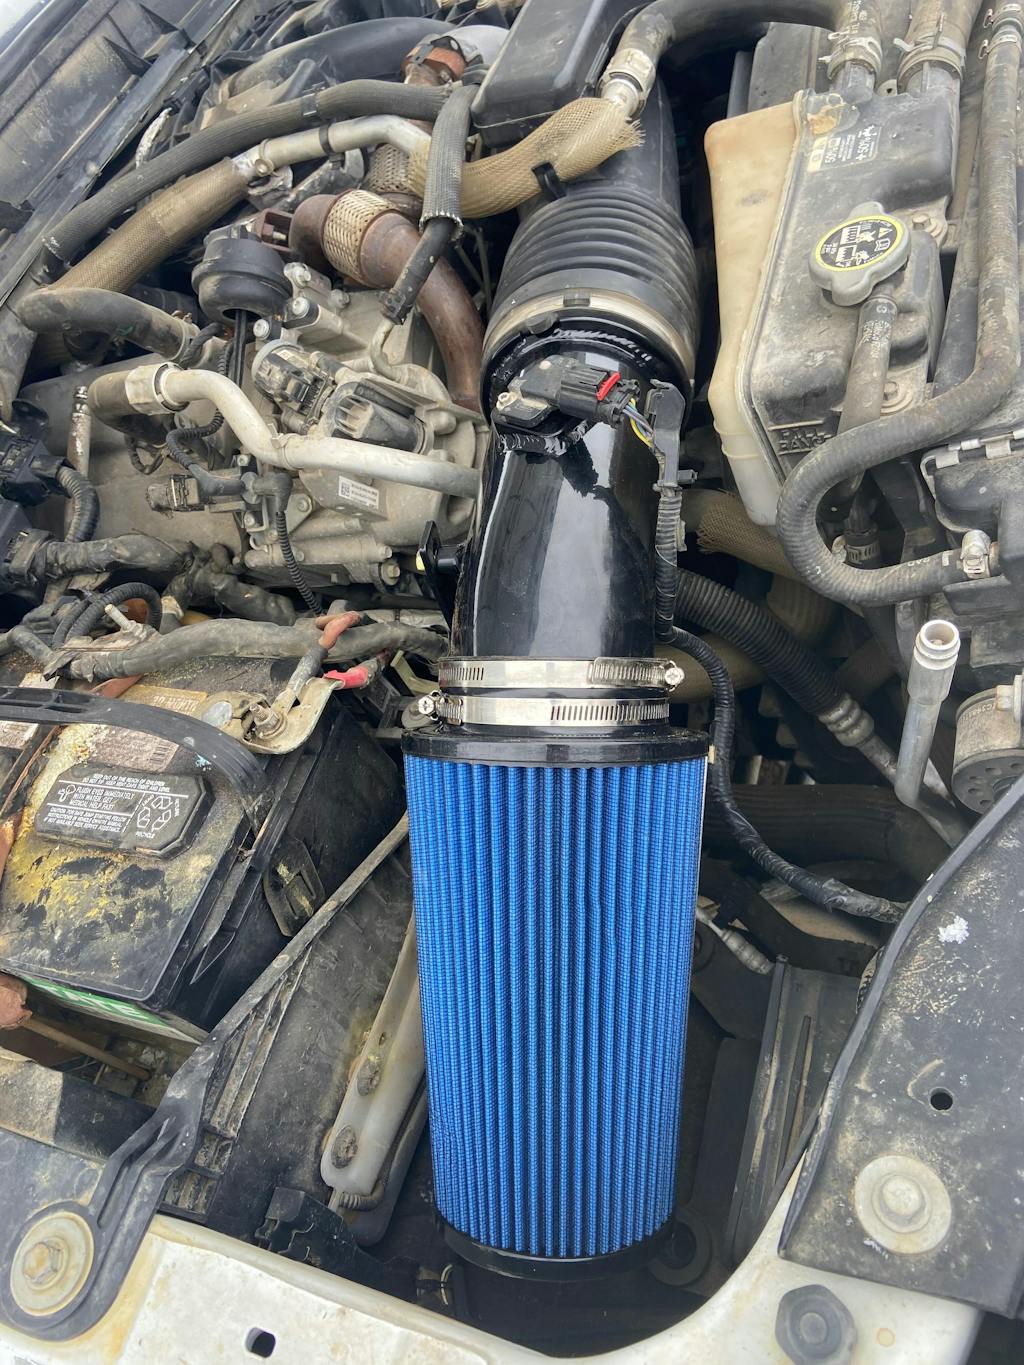
Step 2 :
1.Remove the zip tie seuring the wire harness to the stock intake bridge. 2.Using a 10mm socket,remove the two Hose clamps securing the rubber hoses to the intake bridge.


Step 3 :
1.Remove the stock intake bridge from the
engine.Using a 10mm socket,remove the
pressure sensor from the stock intake bridge.
2.Install the pressure sensor to the Diesel
intake bridge of the supply kit.
Step 4 :
1.Using the 12mm socket,remove the bolt securing the EGR crosscover tube.Install the supply intake bridge and restall the bolt from the previous step hand tight.
2.Secure the intake bridge flange to the motor with the supply M8 allen bolts.


Step 5 :
1.Using a 12mm combination wrench, tighten the bolt that was installed hand tight,This will re-secure the intake bridge and the EGR crossover tube.
2.Reconnect the wire to the pressure sensor on the Sinister Diesel Intake Bridge. The hoses can be secured to the new intake using the provided long alen bolts, spacers, and at washers.
3.Replace the gaskets that go before and after the heater grid. Be sure they are placed in the proper location and direction. Using a socket, reinstall the throttle valve and heater grid.
Step 6 :
1.Install the bracket. The M10 bolt will be screwed into the support bolt. Secure the transmission dipstick to the bracket using 1/4-20 bolts, nuts, and washers.
2.The bracket will hold the coolant hose connector in place.

Other Related products
Discover unique designs you'll need

CCV PCV Reroute Kit
2011-2016 6.6L Chevy Duramax

Exhaust Up-Pipe
2001-2016 6.6L Chevy Duramax

3-Fold Hard Tonneau Cover
6.6L Chevy Duramax

4" DPF & CAT Delete Pipe
2011-2015 6.6L Chevy Duramax

4"/5" Dp-Back DPF Delete pipe
2011-2015 6.6L Chevy Duramax