
How it Installation?
Installation instructions

Step 1 :
1.Unscrew the 4-bolt flange that secures the OEM turbine straight pipe and downpipe. Use a 15mm socket to perform this step. (Note: Keep OEM nuts as they will be used with the new system).
Step 2 :
Install the downpipe#1 and connect the 4-bolt flange of the downpipe to the 4-bolt flange of the turbine straight pipe with bolts.Press the flange downwards to secure the pipeline, but the pipeline can still move. Fix the hangerback with bolts Transmission.


Step 3 :
Install pipe #2 Connect one end of the sloping surface to the tail end of the # 1 downpipe and tighten it loosely with a fixture. Place the hanger together into the OEM rubber hanger.
Step 4 :
Measure the distance between the pipe #2 and the exhaust assembly, install the pipe #3, and if necessary, start from the other end of the slope and cut to the required distance.


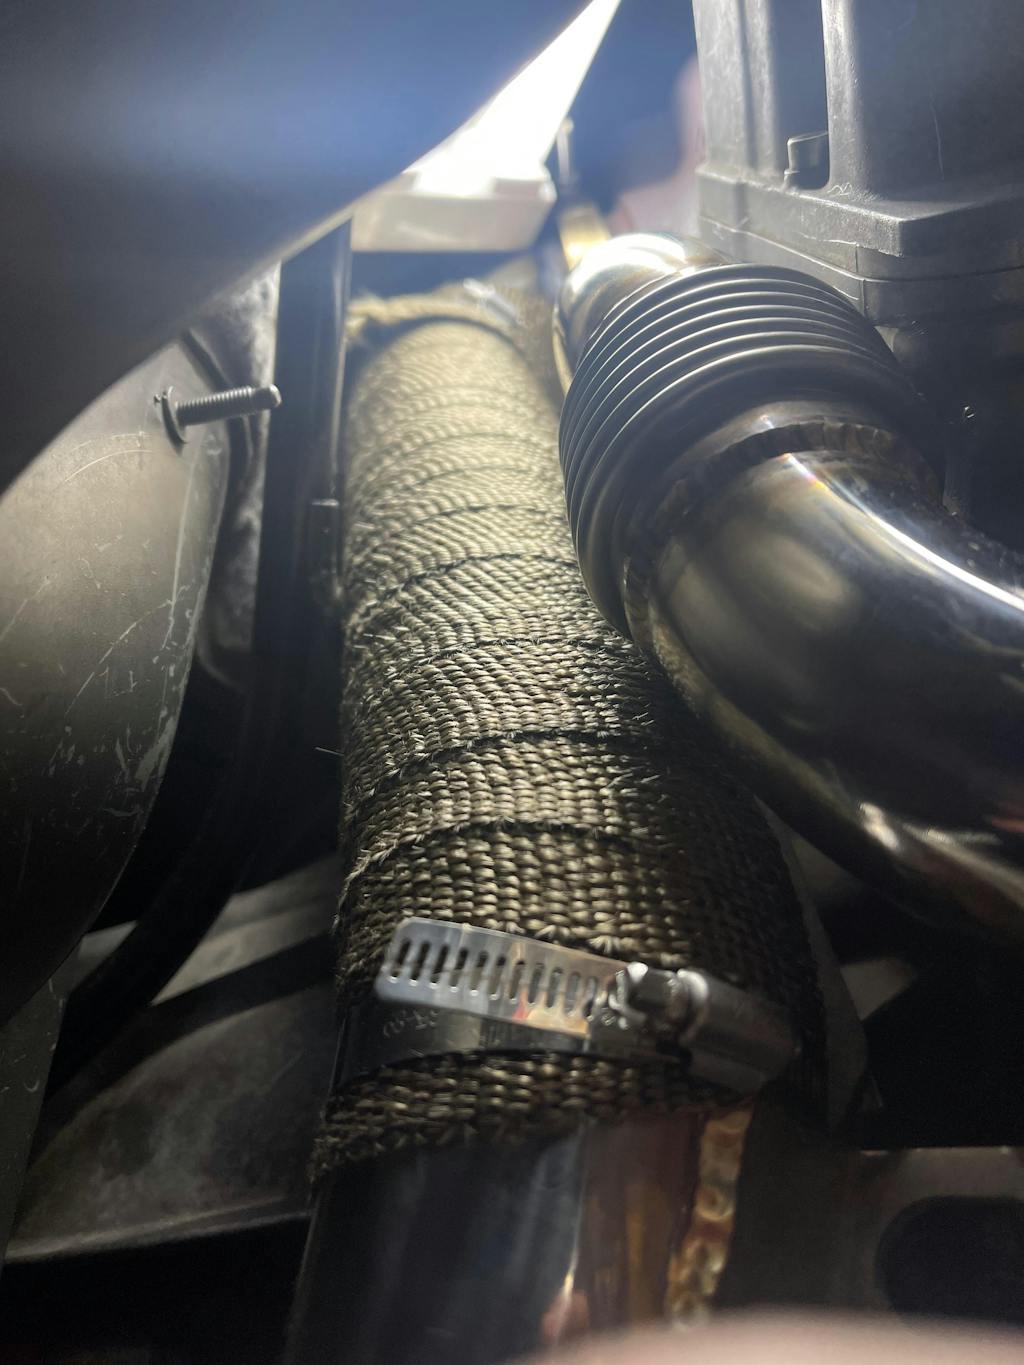
Step 5 :
Starting from pipe #1, tighten the vortex belt clamp and continue tightening until the rear connection, checking the gap while tightening.
Step 6 :
1.Install the bracket. The M10 bolt will be screwed into the support bolt. Secure the transmission dipstick to the bracket using 1/4-20 bolts, nuts, and washers.
2.The bracket will hold the coolant hose connector in place.

Other Related products
Discover unique designs you'll need

3.5'' Downpipe
2017-2023 6.6L Chevy L5P Duramax

EGR Cooler Delete kit
2017-2023 6.6L Chevy Duramax

Tonneau Covers
2020-2025 6.6L Chevy Duramax

4" DPF & CAT Delete Pipe
2017-2023 6.6L Chevy Duramax

4"/5" DPF Delete Pipe
2017-2023 6.6L Chevy Duramax